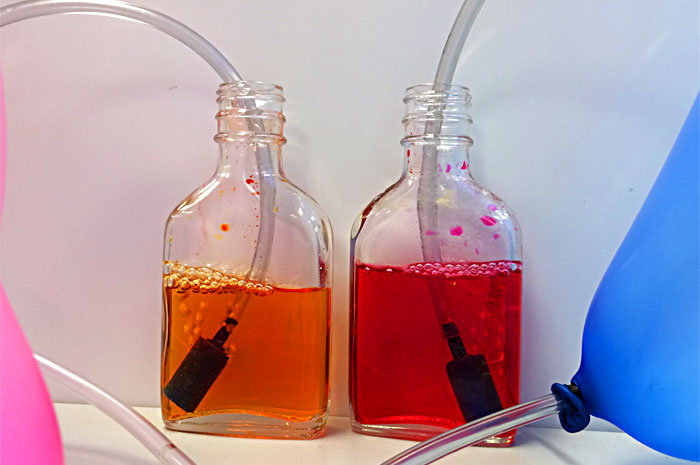
Carbon Capture In Water
Summary
In this module we demonstrate the absorption of carbon dioxide into water using pH indicators. This illustrates basic concepts of adsorption, kinetics, and acid/base behavior. IMPORTANT!!! Under no circumstances should an unsupervised minor perform the procedures described herein. All the following described experiments and methods should be supervised by an adult who is completely familiar with and takes full responsibility for all possible hazards.
General Information
Bibliography
Materials & Methods
Materials

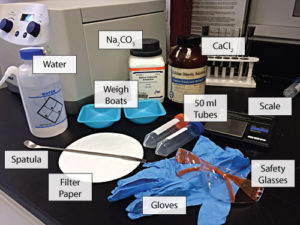
- Phenol Red – This may be found as a pH indicator in almost any chemistry lab or can be purchased online. In most areas it may be found at pool supply stores as a means to measure the pH of the water in swimming pools.
- Disposable pipette – Anything that can be used to controllably drip the phenol red.
- Clear container, about 100 ml in volume.
- Water – Tap water works but it may depend upon the quality of water you get from your municipality. Distilled water will work more quickly and reliably.
- 3/16 – 1/4 inch tubing. This can be purchased at your local home improvement store or online. You’ll need two lengths of about 1ft for each experiment.
- Aquarium air line valve – Purchase at a pet store or online.
- Air stone – These are used to sparge air through aquariums and may be found in any pet store or online.
- Balloon – Your standard latex party favor.
- Balloon Pump – These can be bought at party stores or online. You could replace this with any pump capable of blowing up a balloon with fresh air (as opposed to your breath).
- A carbonated drink or dry ice as a source of pure CO2 is optional.
- A base as a means to return the solution to its original condition is optional. We use household ammonia because it is relatively safe and available. Dilute NaOH could also be used and this module can then be paired with our Carbon Captured Chalk module.
Methods
- Add phenol red to your water in a clear container. How much you add will depend upon the type of phenol red you have. Some are very dilute and will require significant amounts to create a notably red liquid. Just add enough so that the red color can be easily seen by all students, and be sure to add the same amount for each experiment.

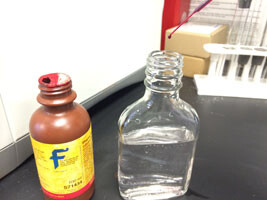
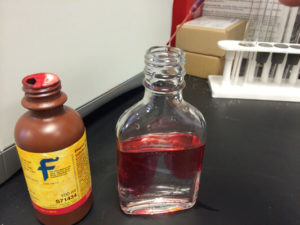

- Create as many phenol red solutions as you’ll need. For each group of students you may want to make one for air, your breath, and CO2 from a carbonated drink or dry ice.From here you could simply take a drinking straw and blow into the liquid… However, it may be dangerous to give the impression that, in a laboratory setting, you should use your mouth so near to chemicals such as phenol red. Furthermore, you wouldn’t want a miscommunication leading to a student sipping up their liquid… What follows is a safer, though more complicated setup.
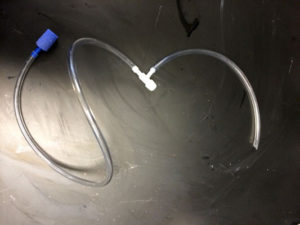
- Connect an air stone to one piece of tubing and connect the other end of that tube to the air valve. Connect the other length of tubing to the other end of the valve.
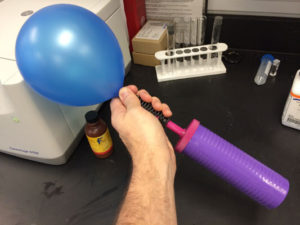
- Blow up a balloon using the balloon pump.
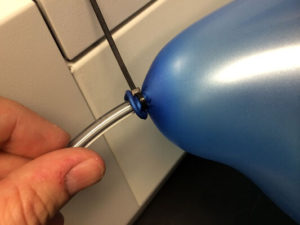
- Close the valve on the tubing and secure the balloon to the free end (the end without the air stone) using a zip tie or garbage tie such that the air does not leak out.

- Next blow up a balloon with your breath and secure it to a separate tube-valve-air stone system. A third balloon setup could also be created at this time using a carbonated drink by securing the balloon over the mouth of the drink and shaking it until it fills with carbon dioxide.
- Put the phenol red solutions next to each other and put the air stone connected to the breath-filled balloon in one and the airstone connected to the air-filled balloon in another.
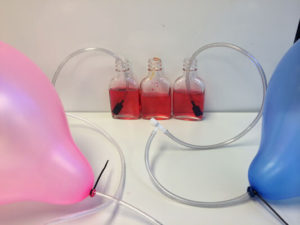
- Open the value to the air-balloon until you see bubbles entering the phenol solution, and then open the breath-balloon in the same manner (and the CO2 balloon too if you have made one).
- Record the time of any pertinent observations.
- Optional: Add a drop of hoursehold ammonia or some baking soda and mix to turn the solution back to basic red and repeat the process to show how more carbon may be sequestered.
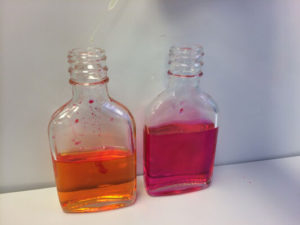
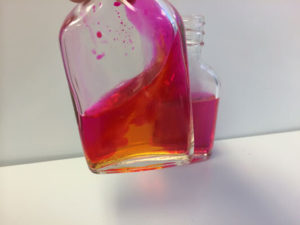


See the video below in this module for an example of these procedures.
Background for Teachers
Absorption
Before a reaction between the water and CO2 can occur, the two molecules have to come into contact. As such, molecules of CO2 have to go from the gas phase to the aqueous phase.
CO2(g) ↔ CO2(aq)
This process depends upon several things. The CO2 molecules have to diffuse to the interface between liquid and gas, cross that barrier and diffuse into the bulk liquid. Fast mass transfer (high diffusivities) will translate into a high molecular flux (molecules moving through the interface between liquid and gas per time and unit area). However, if we have a small interfacial area, we will end up with a low rate of molecules entering the aqueous phase, because the total rate is the flux times the interfacial area. This is why we’re using a sparger (the air stone) in our methods. By breaking up the gas into small bubbles, we are creating more surface area and allowing CO2 to enter the water at a greater rate, and thereby feed the reaction that entraps the carbon.
Henry’s Law
Not only can gasses dissolve into liquids; they can leave liquids to go back to the gas phase. If the rate at which they leave is the same as the rate at which they enter, then the system is at equilibrium. Different gasses will come to equilibrium at different points with various liquids according to Henry’s law.
Pi = KHi Ci
Pi is the partial pressure of a gas in the gas phase, and if we assume ideal conditions the partial pressure can be seen as simply the molar fraction of a gas times the total pressure (Dalton’s Law). Ci is the concentration of the gas dissolved in the liquid. KHi is Henry’s Law constant for that particular gas-liquid system at a particular temperature and pressure. This equation basically states that the solubility of a gas in a liquid is proportional to its concentration in the gas. It follows that if we increase the concentration of CO2 in our gas, as we do when we bubble breath or pure CO2 as opposed to air, that we force more CO2 into the water.
Speeding Up the Carbonic Acid Reaction
Once CO2 is in the water it may react with the water to form carbonic acid in the following reaction:
CO2(aq) + H2O ↔ H2CO3
This reaction is relatively slow and reversible. At equilibrium, only about 0.15% of the carbon in water will be in the form of H2CO3, with most remaining in the form of CO2(aq). In short, very little CO2 can be sequestered using only water.
If we want to increase the amount of capture carbon, we would need to force this reaction to the right and there are a couple ways to do that. We could increase the concentration of reactants. The more CO2(aq) we have the more carbonic acid we would have, but to get more CO2(aq) we would need more CO2(g), according to Henry’s Law. In this module we can see such effects of greater concentration of CO2(g) by comparing the pH change in the water with air, breath, and pure CO2(g). Air is approximately 0.03%, whereas the breath from a human is approximately two orders of magnitude greater, at 5% CO2. The more CO2(g), the more CO2(aq), the more acid is generated, and the quicker the phenol red solution goes from an observable red to orange.
However, in the real world, the concentration of CO2(g) is something dictated by our process streams and the air we breathe.
Instead, to sequester more CO2(g), it would be more effective to remove our product, H2CO3. Because our product is an acid, a reasonable solution would be to react it with a base. In this module we used household ammonia but any base should do.
2 NH3 + H2CO3 → (NH4)2CO3
If we were to use this process to make the starting reactant in our Carbon Captured Chalk module, sodium carbonate, we could instead add sodium hydroxide to the water and force this reaction to the right. See the Carbon Captured Chalk module for a method to turn sodium carbonate into chalk.
Instructional Procedures
- Split the students into teams or 2 or 3.
- Have each team follow the procedures described in this module.
- Discuss their observations