- All Standard Operating Procedures
- UOL – Pump Lab – Lab built
Standard Operating Procedure
Pump Lab Standard Operating Procedures
1. Introduction
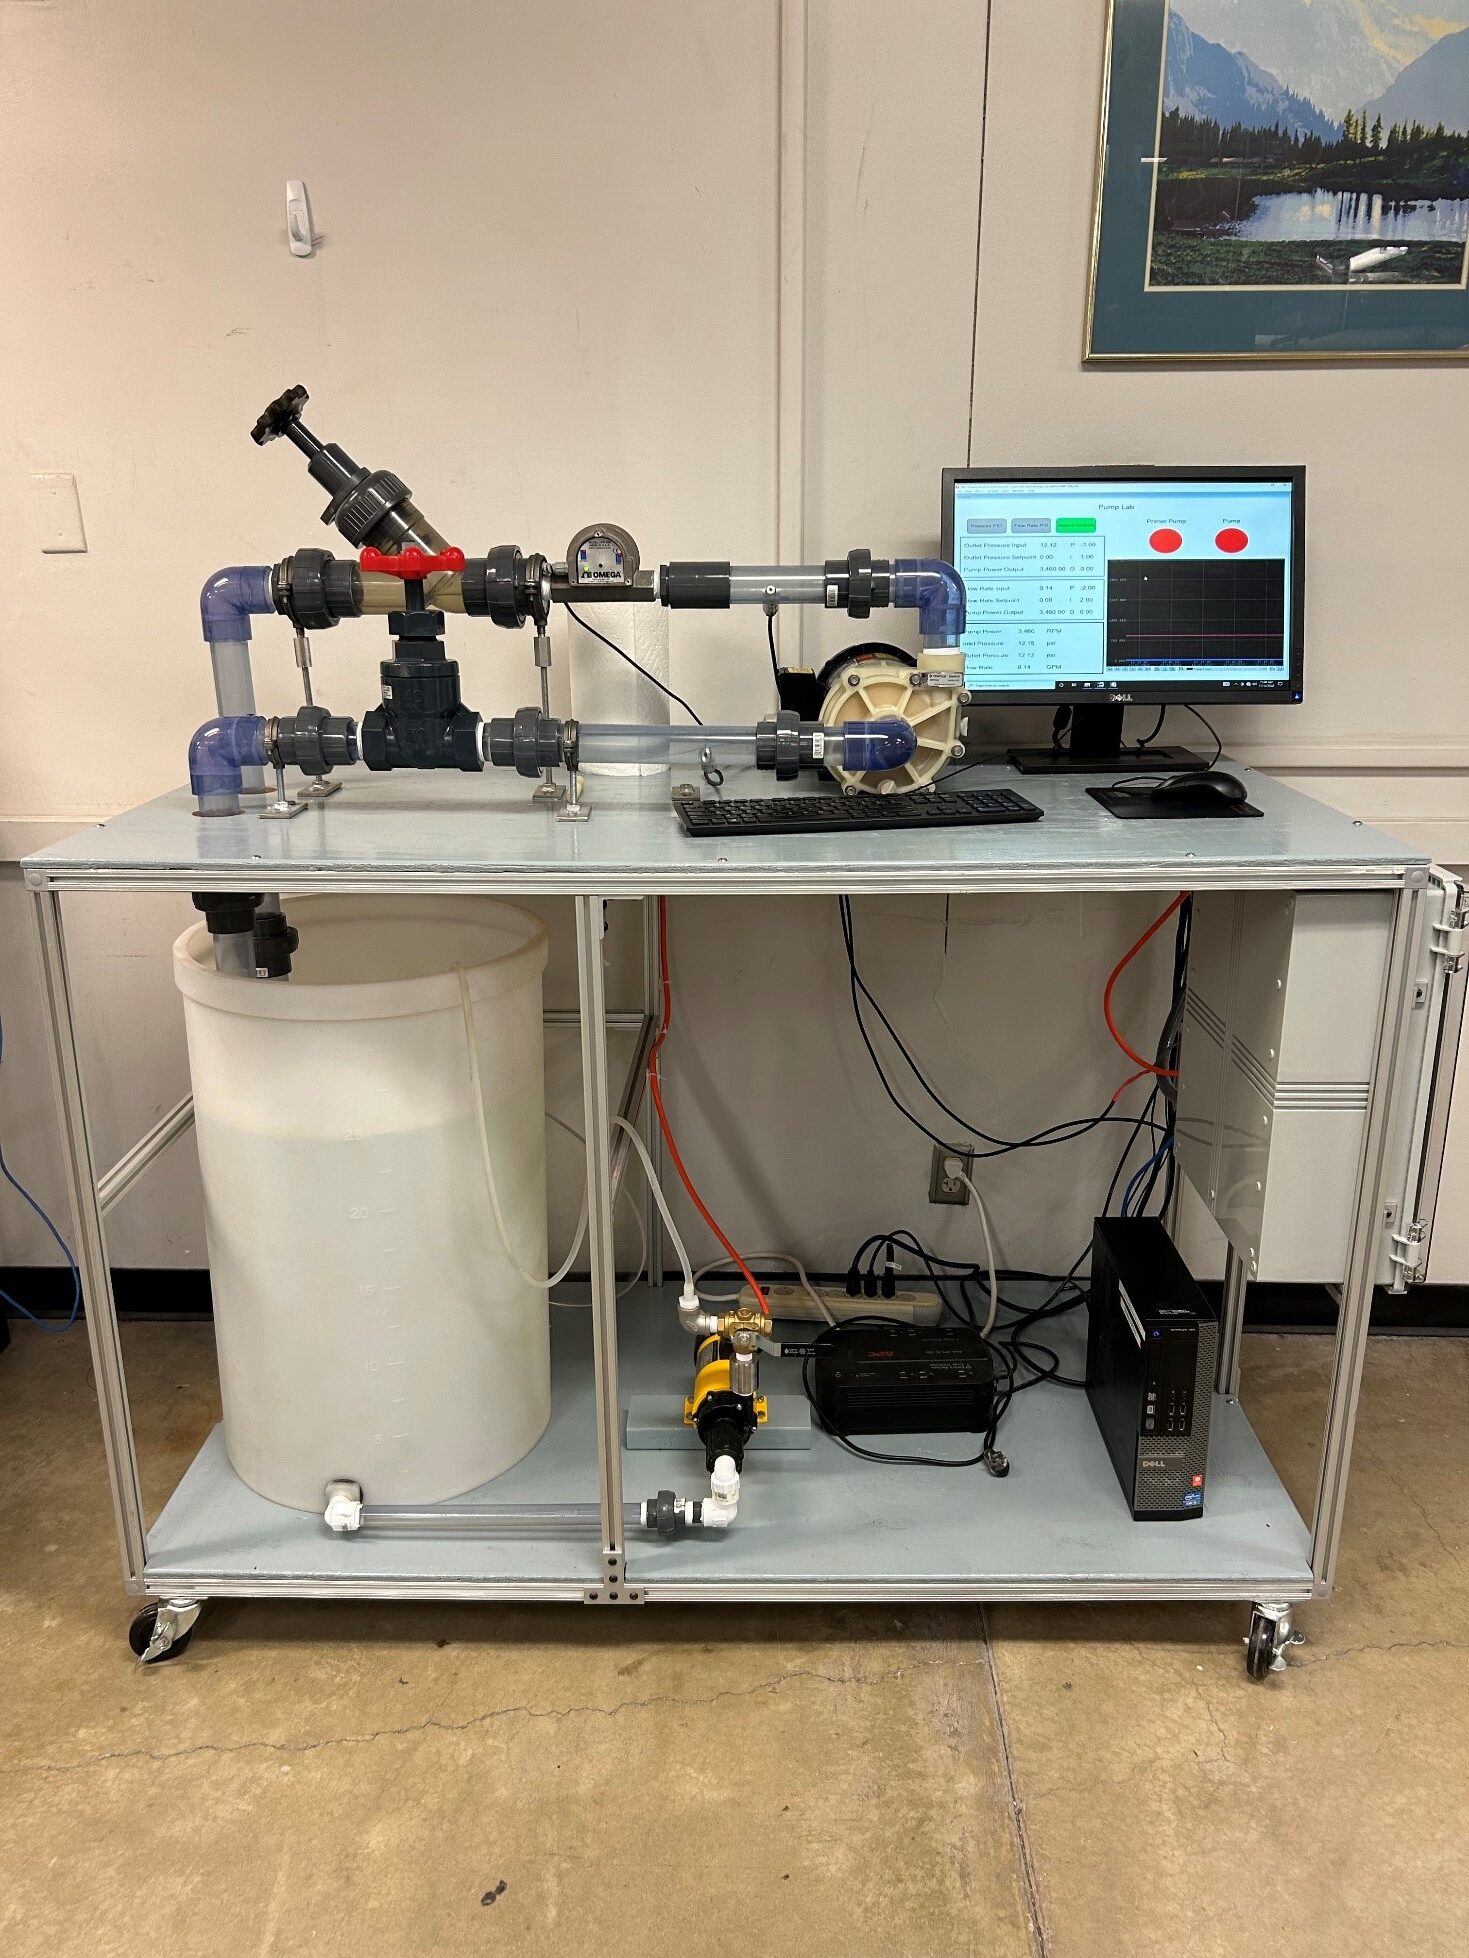
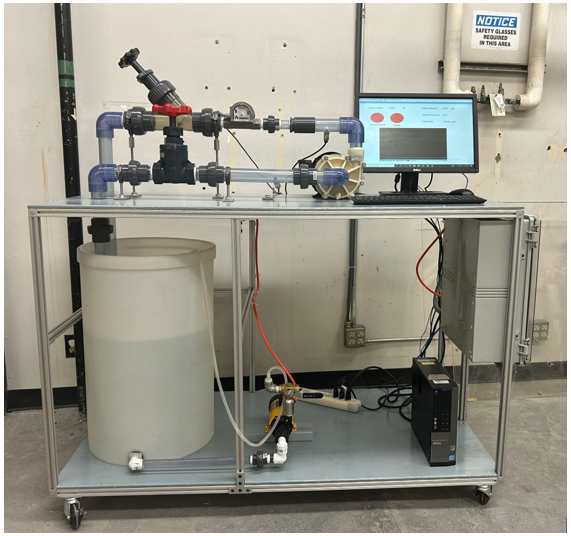
There are two pump lab setups, this SOP is for Pump Lab 2 (see Figure 1).
Do not proceed with testing without following all safety procedures. A basic list of safety considerations is provided in Section II of this SOP.

Figure 1- Pump Lab 2
2. Safety
- All students must wear safety glasses when working in the lab.
- Never leave this equipment operating unattended.
- Do not open the electrical box unless directed by lab personnel
3. Equipment Description
The pump lab consists of the following components.
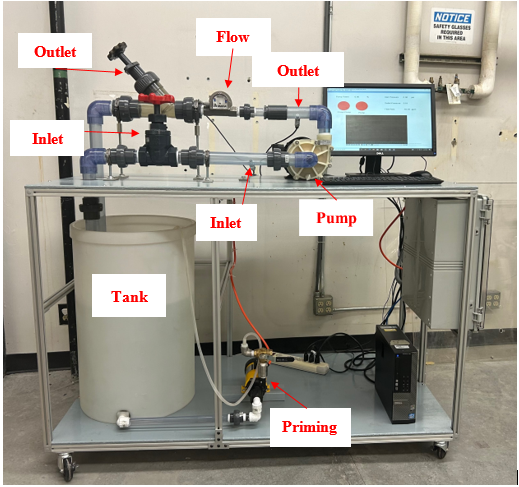
- Weg centrifugal pump: This pump is the primary pump located to the left of the computer monitor.
- Pan World Magnet Pump: This is the priming pump located on the lower shelf of the setup to the right of the tank.
- One tank with a max volume of 30 gallons
- Three Valves: One is located at the inlet one is located at the outlet and the last valve is located above the priming pump (DO NOT ADJUST THIS VALVE UNLESS DIRECTED BY LAB PERSONNEL)
- Opto22 Control System:
- Data is sampled every second and stored in and Excel-compatable file is a folder labled “data” (or similar) on the Desktop of the computer. See section VI. for further information on viewing your data. A flash drive must be used to save and transfer your data as the computer is not on the network.
- Omega Pressure Transducers: located before the pump intake and at pump discharge. The inlet pressure transducer ranges from 0-50 psi while the outlet ranges from 0-30 psi.
- Omega Flow Meter: located in the middle of the outlet stream and has a range from 0-60 gpm.
4.Pump Lab Procedures

Figure 2 – Labeled Components on Pump Lab
-
- Take detailed notes during your experiments, documenting failed and successful tests. Have a supplementary written record with start and stop times and descriptions of individual experiments so that you can later “decipher” recorded data.
- Start up:
- Verify that the pump inlet and outlet valves are 100% open.
- Turn on the priming pump by clicking the red button labeled “Priming Pump” on the Opto22 interface.
- Allow the system to fill with water. Once the water completely fills the impeller housing (when water enters the outlet piping) turn on the pump by clicking the red button labeled “Pump” on the Opto22 interface. Then enter a pump power value on the Opto22 interface (start off with 50% until all air has escaped the piping). (Note: if the impeller is not completely immersed in water turn off pump immediately)
- Once the Pump is on quickly turn off the priming pump by clicking the now green button labeled “Primer Pump”
- Total Dynamic Head (TDH):
- Turn the pump power up to 100% on the Opto22 interface.
- Wait until steady state is reached
- Close outlet valve two full turns
- Wait until steady state is reached
- Repeat steps c-d until the outlet valve is fully closed.
- Turn off the pump by clicking the now green button labeled “Pump”
- Repeat steps a-f decreasing the pump power by 10% each time.
- System Curve:
- Verify that the pump inlet and outlet valves are 100% open
- Turn the pump power up to 100% on the Opto22 interface.
- Wait until steady state is reached
- Reduce pump power by 10%
- Wait until steady state is reached
- Repeat steps d-e until 30% pump power is reachedTurn off the pump by clicking the now green button labeled “Pump”
- Net Positive Suction Head (NPSH):
- Verify that the pump inlet and outlet valves are 100% open
- Turn the pump power up to 100% on the Opto22 interface.
- Wait until steady state is reached
- Close inlet valve two full turns
- Wait until steady state is reached
- Repeat steps c-d until the inlet valve is fully closed.
- Turn off the pump by clicking the now green button labeled “Pump”
- Repeat steps 1-7 decreasing the pump power by 10% each time.
5. Data Collection Options
There are two methods of data collection that can be used for this lab
- Using the data logged by the Opto system and export the data to an Excel file (instructions can be found in section VI below)
- Manually record single data points once the system has reached steady state using either Excel on another device or recording the data with pen and paper.
6. How to View and Save Data in Excel
- Do not try to view your data while the system is running. This will cause it to stop data collection
- Save data to a flash drive after each trial
- If you have any questions, ask for assistance
If you are running one trial:
- Once all your required data has been collected, exit the Opto system.
- Open Excel, click “Open” and navigate to the correct data folder on the desktop (labeled “Data” or something similar).
- At the bottom of the Excel window, click on the drop-down window and select “All Files”. This will display the data files collected, organized by date.
- Double-click on the file you wish to open. The Text Import Wizard will open.
- Select “Delimited” → click “Next” → select “Comma Delimited” → click “Next” → select “General Data” format option → click “Finish”.
- The data should now be displayed in Excel.
- Save your data to a flash drive by clicking “Save As” and selecting your flash drive as the destination. Ensure that you label your data properly and thoroughly to avoid confusion.
- Eject the flash drive.
- Follow the rest of the shutdown procedure specified in the equipment SOP (see section VII below)
If you are running several trials in one day:
- Leave the Opto system running.
- Open File Explorer and navigate to the correct data folder, on the desktop (labeled “Data” or something similar).
- Organize/sort by date if you have not already done so. Your data should appear at the top of the list.
- Right-click on your data file and “cut” the file (or press Ctrl X after clicking once on the file). Note: this will effectively cut the data that was collected up to that point into a file and begin a new data collection (a new file will be created with the same name as the file you cut) as soon as it is cut.
- Paste the cut file into the flash drive and rename it with a proper label. Ensure that you eject the flash drive and save it to your personal device.
To open Excel on your personal device:
- Open Excel. Next, click File/Open and navigate to the saved data on your flash drive or device.
- At the bottom of the Excel window, click on the drop-down window and select “All Files”. This will display the data files collected, organized by date.
- Double-click on the file you wish to open. The Text Import Wizard will open.
- Select “Delimited” → click “Next” → select “Comma Delimited” → click “Next” → select “General Data” format option → click “Finish”.
7. Shutdown
- Ensure that both pumps are off and pump power is set to 0%. ( When the pumps are off when both buttons are red)
- Make sure that both the inlet and outlet valves are 100% open.
- Exit the Opto control software. Do not shutdown the computer.
- Save your data to a flash drive. The computer is not on the network.