UOL – Gas Diffusion Coefficients Apparatus SOP
Standard Operating Procedure
Introduction
The Armfield Gaseous Diffusion Coefficients Apparatus is a specialized device that enables students to accurately measure fluid diffusivity, a key parameter in fluid flow and mass transfer operations. Understanding fluid diffusivity is essential in various applications, as it plays a crucial role in processes like gas exchange and the design of industrial plants. By providing valuable data on diffusion rates, this apparatus allows for a deeper understanding of mass transfer processes, which are critical for optimizing plant design and ensuring efficient fluid handling in engineering systems.
Do not proceed with testing without following all safety procedures. A basic list of safety considerations is provided in Section II of this SOP.
Safety
- All students must wear safety glasses when working in the lab.
- Never leave this equipment operating unattended.
- Mix all chemicals in a fume hood.
- All chemicals, solutions, and standards must be stored in a sealed container. The container must be labeled with chemical(s) name and concentrations, operator/user’s name, hazards, and date of storage. Confirm storage location with the lab manager.
- All chemical Containers must be sealed when not in use.
- All unwanted material must be placed in an appropriate container. The container must be labeled “Unwanted Material.” The label must include the chemical(s) name and concentration, the operator/user’s name and contact information. See the sign posted above the unwanted materials table in the Senior Lab.
- Only pure water can go down he drains.
Equipment Description
The gas diffusion apparatus consists of the following components.
- Capillary tee piece consisting of a vertical thick walled glass capillary tube with a bore of 2 mm diameter, sealed at the bottom end and welded to a cross piece at the top to form a tee.
- Temperature controlled heater that can regulate temperatures up to 60 °C.
- High definition digital microscope.

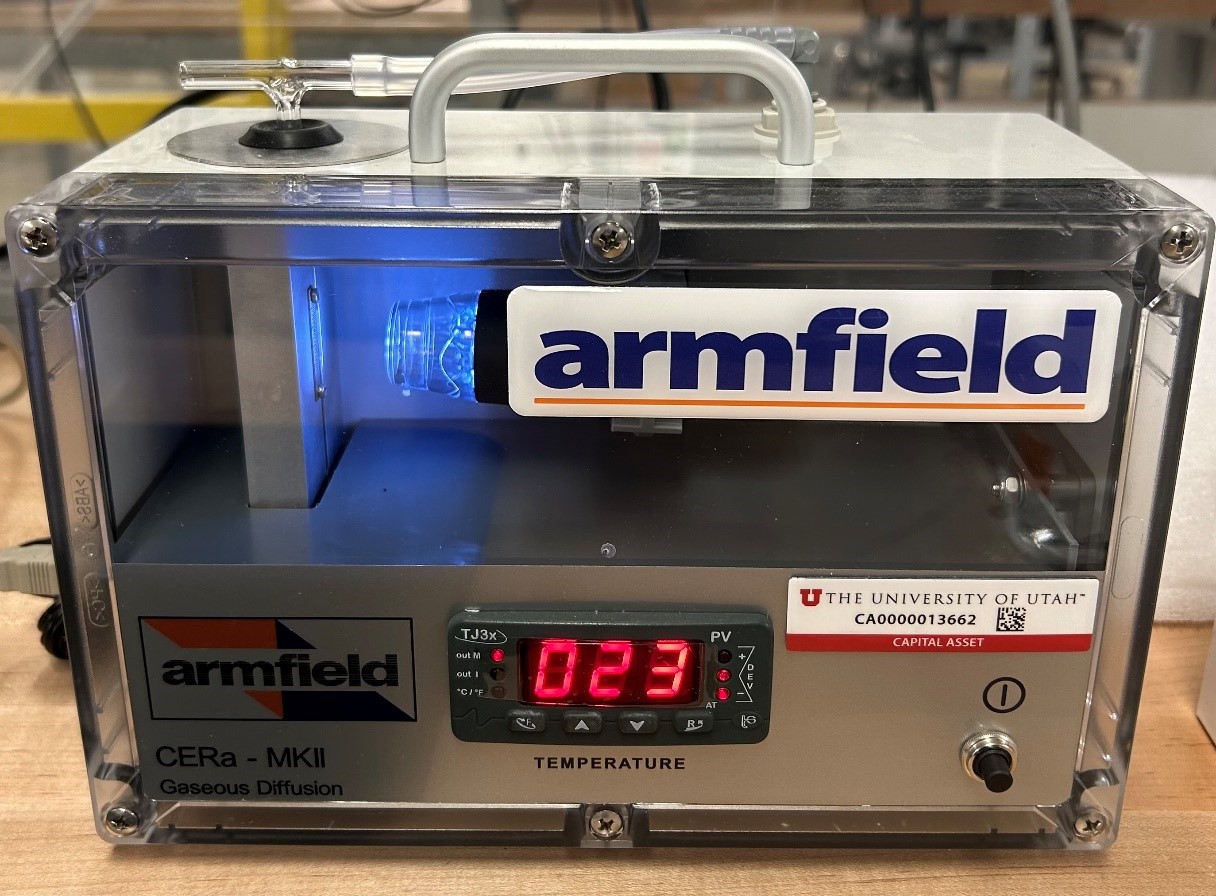
Figure 1. The gas diffusion apparatus setup for experimentation.
Procedures
- Using the syringe and needle provided, fill the capillary tube with a detergent mixture to clean the inside of the capillary tube.
- Remove the detergent liquid from the capillary tube by shaking it upside down over a sink. If you are unable to remove all the liquid with this method, the syringe can be used to withdraw the remaining solution from the capillary tube.
Note: Since the capillary tube is very fragile take great care to not let go of, or hit anything while shaking/transporting it.
- Using a new syringe and needle, fill the capillary tube with your desired liquid to a depth of ~35 mm.
- Make sure there are no air bubbles inside of the capillary tube. If there are, gently tap the outside wall of the tube near the meniscus until there are no more air bubbles.
Note: If tapping the outside wall of the tube doesn’t work use the syringe and needle to retrieve the liquid above the air bubble and then refill the tube till the desired depth is reached with no air bubbles.
- Power on the computer and open the MicroCapture Plus program.
- Push the capillary tube into the rubber ring until you can see the meniscus appear on the MicroCapture Plus program.
- Connect the flexible air tube to one end of the ‘T’ pieces of the capillary tube and then connect the flexible tube to the air outlet using the hose barb to push fitting adapter.
- Reposition the capillary so that the meniscus is as close to of the image capture screen as possible.
- Switch on the temperature controlled heater by pushing in the button on the front of the gas diffusion apparatus.
- Set the PID controller on the heater using the methods below:
- Press the ‘F’ button.
- Use the up and down arrow buttons to select the desired temperature.
- Press the ‘F’ button again and then wait 8 seconds to save the temperature set point.
Note: Make sure that the temperature you set will not boil your liquid.
- On the MicroCapture Plus program open the capture dropdown menu and click capture to take an image of the liquid and capillary tube.
- Take additional pictures every 15-30 min after the original picture until the meniscus is no longer visible in the MicroCapture Plus program.
Shutdown
- Turn of the temperature controlled heater by pushing in the button on the front end of the gas diffusion apparatus.
- Take the capillary tube out of the gas diffusion apparatus and carefully remove any excess liquid using the syringe and needle.
- Clean the capillary tube following the methods in the the procedure section, steps 1-2.