Perkin Elmer AA400 Standard Operating Procedure
R.Cox- D. Overacker 1/31/2017
Scope:
Prior to operating this equipment, all operators must meet with the lab manager to review instrument operation procedures.
Do not make any changes to the program settings.
This document outlines the procedures for basic analysis of metals using the Perkin Elmer Flame AA400.
For more in-depth information consult the software help files and the AA documents folder located on the desktop of the AA computer.
Read this entire document before operating the AA.
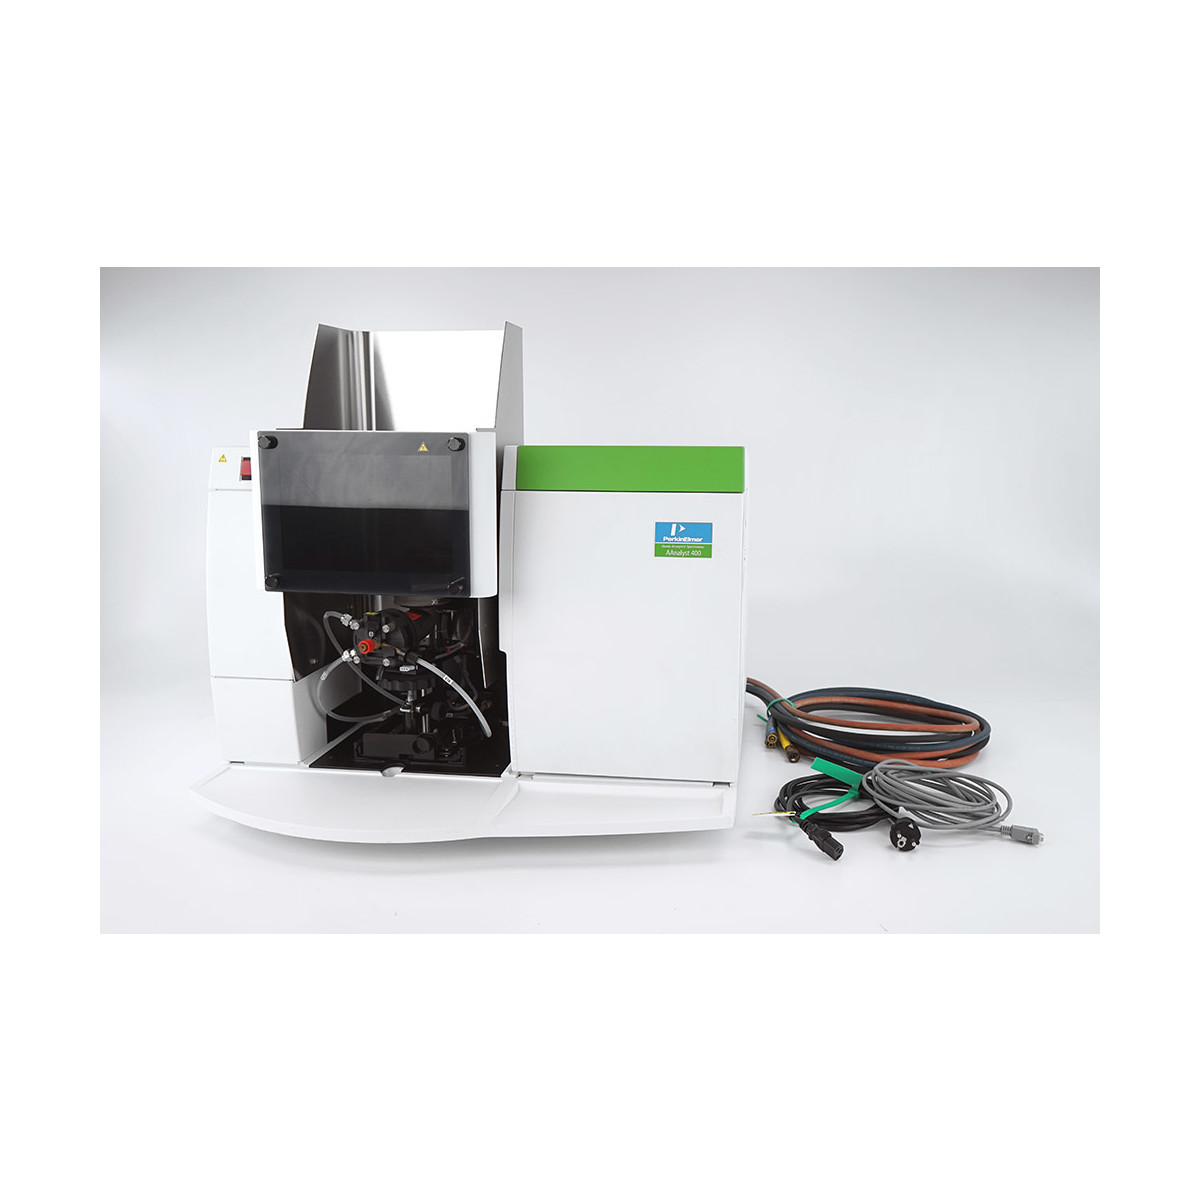
Equipment Description:
The PerkinElmer AA400 is a double -beam atomic absorption system with a four-lamp turret and high sensitivity nebulizer.
System lamps: Cu, Fe, Ca – Mg, Li, Pb, K – Na , Zn. Other lamps may be available, contact the lab manager for details.
This instrument does not incorporate an autosampler.
Safety:
This equipment uses compressed flammable gas. Do not adjust or modify the gas cylinders or regulators.
To shutoff the flame in an emergency- push the red button on the left-front of the AA. The regulator output pressure should be set to 13-14 psi.
The pressure of the acetylene gas cylinder must never fall below 85 psi; this is the tank pressure not the regulator output pressure.
If you find that the acetylene gas pressure is approaching 100 psi, notify the lab manager. Consult the lab manager with any questions regarding compressed gas.
Safety glasses must be worn at all times when working in the lab. Gloves, lab coats and facemasks are located in the lab.
You are responsible for your safety when working in the lab.
You must provide an MSDS document for each compound I sample you are working with.
If an MSDS is not available, consult with the lab manager prior to operating this or any other lab equipment.
Prior to operating the AA, prepare and label samples and standards as required.
Consult the AA lab manager and AA documents on the computer for information regarding sample preparation and concentration limits.
Sample solutions must not contain any particulate material – if in doubt, filter your samples.
Measuring Limits:
The minimum and maximum ranges vary for each element, these variations are due in part to the design of the nebulizer, variances in lamps and sample flowrate. The AA 400 incorporates a high sensitivity nebulizer. To measure sample concentrations higher than those listed in the table below use the AA200, which has a low sensitivity nebulizer. The AA200 is located in the combustion lab.
The characteristic concentration value is the amount of sample that will produce an absorbance of .0004 absorbance units.
The concentration values listed in the linear range column are the maximum concentrations for the given wavelength that will result in a linear calibration curve.
The table below summarizes the different ranges, concentration check values and associated methods for most elements.
*INSERT TABLE HERE*
Sample Preparation
- All samples should be diluted in a solution of 2% NHO3 in d.i. water.
- Use the serial dilution technique to dilute concentrated samples to the ppm
- Make sure all glassware is clean.
- Rinse all glassware with d.i. water before use.
- Do not introduce samples of concentrated acids or bases into the instrument.
Operating Procedure
- Switch on the AA; the power switch is located inside the right-front panel.
- Log on to the administrator account- MEB3520E-2\Administrator – on the computer, there is no password for the administrator account.
- Open the WinLab32 for AA program located on the desktop.
- The “system status ” window will open – wait for the system to check the “system ready “check box ‘ s – then the tip of the day will display and finally the control window will open, this takes about 2 minutes. Close the tip of the day window.
- Go to file-open Method. The Open Method dialog opens. Select the method you wish to use then click on OK. Consult the lab manager for details on methods. Note that the window will close but the method you selected has been activated.
- Next you will need to enter your sample information into the active method. If you modify a method you may save it under a new name.
- Once you have selected the method click on the Meth Ed (method editor) icon at the upper left of the main window. The name of the active method will be displayed.
- At the bottom of the Method Editor select the Calibration tab – enter the calibration equation you wish to use and then enter the units for the calibration and sample data.
- On the right side of the Standard Concentrations window there are five tabs, select the Standards and Concentration Tab and enter an ID for your blank and standards. If you don’t enter an ID one will be assigned.
- Enter the standards concentrations: the units will be whatever you defined in step 7b, you can change the units by selecting the Equations and Units tab on the right side of the window. You do not need to enter data for the other parameters. The A/S Loe column is for an autosampler, this AA does not use an autosampler.
- Select the Options tab at the bottom of the window, check all four boxes listed under the Summary Items section.
- Go to file – save as – method: save the method under a new name if desired.
- Close the method editor window.
Define Data File Location:
- Go to tools – Manual Analysis Control
- In the Manual Analysis Control window, open the Results Data Set Name dialog. Enter a name and description to create a results data set for your data or use an existing file. Take note of the file path for this data and select OK.
- In the manual analysis and control window check the Save Data and Print Log boxes.
- In Manual Analysis Control Window open an existing sample information file or create a new File – new – sample information file, click OK. See the AA Software Guide located in the AA Documents folder on the desktop for more information.
- You can also access the sample information dialog by clicking on the OPEN tab to the right of the info file: display in the manual analysis control window.
- Make sure that the sample info file you selected or created is displayed in the Info file window before proceeding.
- Go to File – Save – Sample Info File
- Go to File – Save – Do not close the Manual Analysis Control Window.
- Open the main acetylene tank valve ½ turn.
- Verify that the acetylene tank pressure is greater than 100 psi as displayed on the gauge closest to the main tank valve. If the tank pressure is less than 100 psi, close the main tank valve and contact the lab manager. DO NOT OPERATE THE FLAME AA IF THE MAIN TANK PRESSURE IS EQUAL TO OR BELOW 100 PSI!
- Verify that the regulator output pressure is between 14 – 15 psi.
- Open the air supply valve – ball valve with green handle located behind and above the acetylene tank. The pressure regulator for the air supply is set to 70-80 psi; do not adjust the air regulators.
- Operating the AA requires a number of different windows to be open at the same time. These may be opened together as a Workspace file or they may be opened individually.
- Opening the continuous graphic window initializes the AA; open this window first if you are not using a workspace file.
- To open the continuous graphics window go to: Tools – Continuous graphics.
- Once the continuous graphic window is open the software will begin initializing the AA, this takes about 1-2 minutes.
- Once the continuous graphics window has in initialized, Auto Zero the graph. If needed adjust the Factor parameter in the continuous graph window to adjust the scale, usually this is not required.
- Close the continuous graphics window and proceed to the next step. Note: the continuous graphics window is only used to initialize the instrument and indicate the state of readiness and calibration status of the instrument.
- Now open the remaining windows: Either open a workspace file: go to file – open – workspace or manually open the windows individually by selecting the following icons located on the top tool bar: Flame, Results, Calib, and Manual if the Manual Analysis Control window is not already open.
Lighting the burner:
Verify that the top of the AA is free of papers or any items.
Verify that the safety interlocks box is checked in the flame control window. In the flame control window click on the “On” button, this will light the burner. If the safety interlocks box is not checked consult the lab manager.
Running Calibrations & Blanks
- Verify that the continuous graphics window is closed before continuing.
- Refer to the AA Software Guide located in the AA Documents folder on the desktop for more information regarding calibrations.
- Always run a blank (2% NH03 in d.i. water) between samples.
- Place the sample tube in the blank solutions.
- In the manual analysis window – select analyze blank. If the options in the manual analysis window are not available, close the continuous graphics window.
- Place the sample tube in your standard solution; a single standard is adequate for most applications. If you are using multiple standards start with the most concentrated standard.
- In the manual analysis window – select analyze standard, the resulting calibration curve should be visible in the calibration window.
- To print the calibration curve: Select the Calibration Display window, go to file – print – active window, make sure the correct printer is selected.
- Place the sample tube in the d.i. water solution, always run d.i water between samples.
- Let the d.i. water flush the tube out for about 10 seconds.
Running samples:
Place the sample tube in your sample – select analyze. – repeat this procedure for all samples. Always run d.i water between samples. Do not touch the nebulizer!
Printing Results: All data will print to the printer next to the AA.
The results are updated and displayed in the results window.
To print the results window, select the results window then go to: file – print-active window.
To open the results file or export data: Go to file – utilities – Data manager. See help files for details on formatting the data file.
Exporting data:
Data files are accessed via the Data Manager program, either from the shortcut on the desktop or from the main Winlab control software by navigating to File – Utilities – Data Manager.
- Go to: File, Utilities, Data Manager. The data manager window should open displaying data files contained in the default data If your data is saved in the default folder it should be visible, if you saved your data to a different folder, go to: file – select library – then navigate to your data.
- In the data manager window – select the Results File Name – then select Report from the top toolbar in the Data Manager window.
- Select (Use Existing Design), select Your data should be displayed.
- Select Print report.
- To export your data to Excel, select the file you would like to export and then select Export, select Use Existing Design, select Browse , select LabWorks.xpt , select open, select next, follow the prompts, in step 4 select .csv as the file extension, verify that the correct export path /directory is selected. Follow the prompts to step 8, then select Export Data.
SHUTDOWN:
- Close the main acetylene tank valve – do not adjust the regulator
- Close the air supply valve
- Go to File – Exit
- Click YES when prompted to turn off the lamps
- Switch off the main power switch on the AA
- Clean up
- Label all samples
AA – Quick SOP 9/22/15: RC
- Log onto the computer
- Switch on the AA
- Open the AA software; wait for the software to This takes about 2 minutes.
- Open method: File – open – method.
- Open the continuous graphics window: Tools – Continuous Graphics.
- Wait for Setting up Spectrometer routine to finish.
- Close Continuous Graphics window.
- Open desired workspace window or open windows manually as Manual Analysis window is not active when Continuous Graphics window is open.
- In Manual Analysis Control Window open an existing sample information file or create a new File – new – sample information file.
- In the Manual Analysis Control Window open a Results Data Set Name file or create a new Verify that the Save Data and Print Log boxes are checked.
- Open Acetylene tank main valve ½ turn.
- Verify that the Acetylene tank main pressure gauge is>/-=: 100 PSI
- DO NOT OPERATE the AA if the tank pressure is less than 100 PSI
- Verify that the tank outlet pressure is~ 15 PSI
- Open Air valve – green ball valve.
- Light the burner.
- Run blank, standards, samples as desired.
- Results will print to printer.
- SHUT DOWN:
- Close the main acetylene tank valve – do not adjust the regulator
- Close the air supply valve
- Open the Flame control window – select (bleed gases)
- Wait about 10 seconds for the gases to bleed from the lines.
- Go to File – Exit
- Click YES when prompted to turn off the lamps Switch off the main power switch on the AA.
- Clean up
- Label all samples
- To export your data to an Excel file go to File – Utilities – Data Manager. Select: use existing See help files as needed. The default export file for Excel reports is: C: Users\Public\PerkinElmer\AA\Data\Reports